
Read Time: ⏱️ 10 minutes | By: Luca
Section 1: Why the Fermenter Is the Heart of the Brewery
The change from raw, sugary wort into a finished, stable beer happens entirely on the cold side, inside the cellar.
Every choice made in the brewhouse can be ruined if the tank holding the fermentation does not give the yeast a good, controlled home.
Choosing a commercial-grade beer brewing fermenter is one of the most important equipment investments a growing brand will make.
The shape, pressure rating, and jacket placement of these tanks directly affect how the yeast behaves, the flavors it makes, and how clear the beer turns out.
To find the Best fermenter types for your facility, you need to weigh several tank styles against your beer styles and daily schedule.
Whether you need a tiny pilot tank or a large industrial vessel, your equipment choices shape your daily labor.
This guide covers the mechanical setups, material standards, and space needs for building an efficient, scalable cellar.
Section 2: Cone-Bottom Tanks vs. Open-Top Vats
For decades, commercial brewing has been led by the vertical cone-bottom tank, often called a CCT or standard fermentation tank.
This tank pairs a rounded upper cylinder with a steeply pitched cone base set at a 60-degree internal angle.
That angle uses gravity to pull trub, spent hops, and dropping yeast into a dense plug at the bottom point.
By collecting the solids at the lowest point, brewers can purge waste or harvest clean yeast without moving the beer.
But standard conical fermenters are built as low-pressure tanks, usually kept below a 5 PSI limit.
Because they cannot handle high gas pressure, they cannot force-carbonate beer, so the team has to transfer it to a separate bright tank.
Understanding this split between a brite tank vs fermenter setup matters when you plan daily cellar work.
Open-top fermenters, by contrast, leave the beer surface exposed to the room, removing all head pressure and letting certain ale yeasts make heavy aromas.
Bottom Filling and Oxygen Control
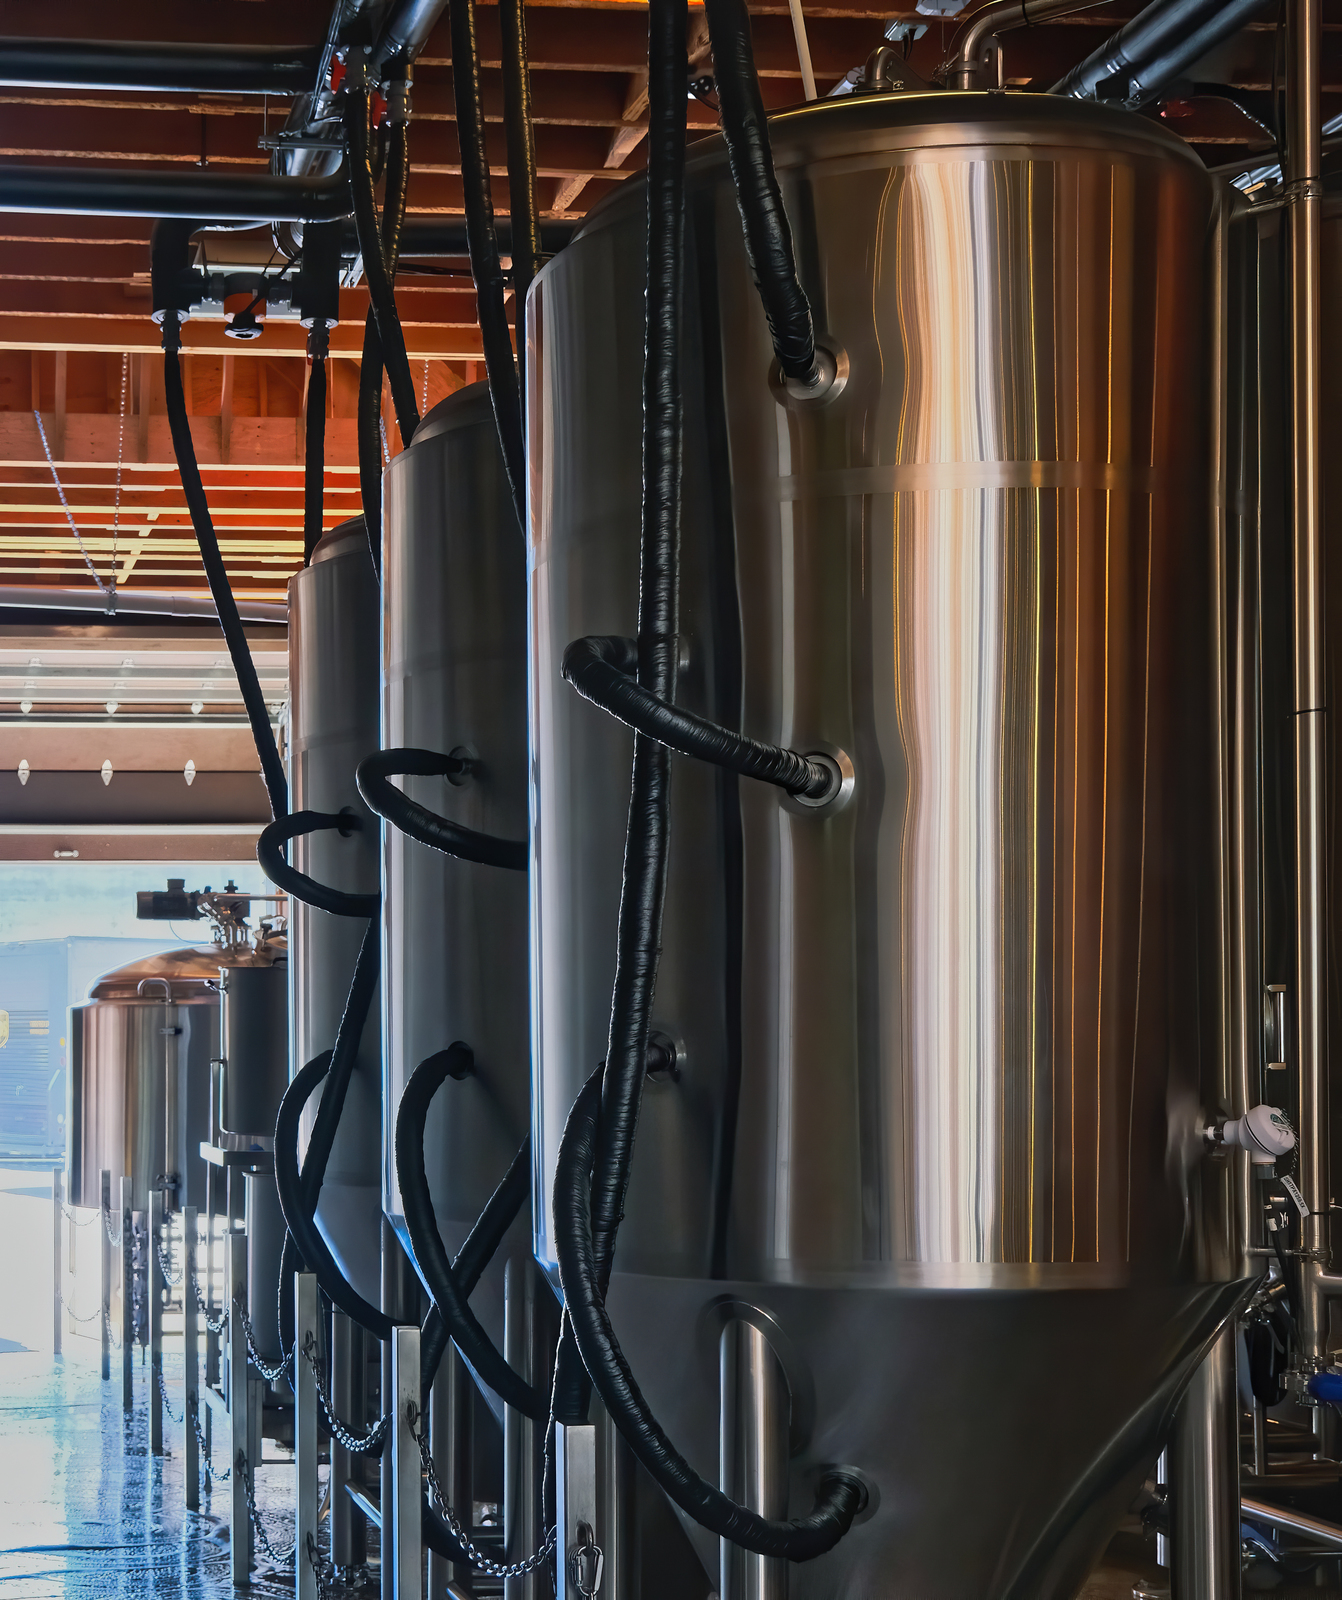
Bottom filling reduces splashing and helps the wort enter the fermenter with less uncontrolled oxygen exposure.
The cooled and aerated wort can enter through the lower drain connection, allowing it to mix gradually with the pitched yeast as the liquid level rises.
After fermentation, beer can leave through a rotating racking arm or raised outlet positioned above the compact sediment layer.
The piping should support closed transfers so carbon dioxide replaces the beer leaving the tank instead of atmospheric air.
The route used to fill and empty a fermenter has a direct effect on oxygen control.
Sending wort gently into the bottom reduces splashing, while removing finished beer through a raised outlet keeps yeast and trub behind. A closed gas connection protects the headspace throughout the transfer. (Asian Beer Network)
Section 3: The Modern Unitank
To simplify cellar work and cut the product loss that comes with transferring beer, manufacturers built the multi-purpose unitank.
A unitank has the same vertical, cone-bottom shape as standard Conical fermenters but uses thicker steel sheets and reinforced support rings.
These upgrades let the vessel safely handle continuous working pressures of 15 to 30 PSI.
Working under pressure completely changes how a cellar team manages packaging timelines.
Brewers can close the gas arm near the end of the cycle to trap natural carbon dioxide inside the beer.
This natural pressure carbonates the beer while keeping it safely sealed away from damaging oxygen.
A unitank also has permanent sanitary ports for high-pressure carbonation stones, rotating racking arms, and sample valves.
That lets you ferment, drop yeast, cold-crash, and fully carbonate the beer inside one sealed vessel with no extra transfers.
Confirming the Pressure Rating (ASME)
Pressure capability should be confirmed through the vessel nameplate and certification documents before the fermenter is used.
For brewery processes operating above 15 PSI in the United States, an ASME-rated vessel may be required or strongly recommended, depending on the local jurisdiction.
The documentation should identify the maximum allowable working pressure, test pressure, design temperature, manufacturer, serial number, and relief-valve setting.
A standard low-pressure fermenter cannot be converted into a safe unitank simply by installing a pressure gauge, spunding valve, or carbonation stone.
Two fermentation tanks may look identical while having completely different structural limits.
Before applying pressure, the brewery should check the nameplate rather than relying on the appearance of the steel. Additional fittings can control pressure, but they cannot strengthen a vessel that was never designed to hold it. (Brewers Association)
Section 4: Choosing the Right Tank Size
Every beverage company should size its tanks based on brewhouse output, local demand, and available space.
For research labs, recipe development, and homebrewers going commercial, a small 1 bbl fermenter is a great pilot testing platform.
These small vessels let you check yeast performance and test new ingredients without risking large amounts of raw materials.
As a business grows into a neighborhood brewpub, most operators move up to a larger 5 bbl fermenter to supply their taproom lines.
This mid-size capacity balances fresh inventory with manageable batch volumes for local hospitality.
For startups launching with local draft accounts, a 7 bbl fermenter is the classic entry-level size.
Many manufacturers design their baseline equipment around this size because it matches entry-level brewhouses well.
Moving up to a 10 bbl fermenter gives growing taprooms the extra volume to support packaging lines like mobile canning.
This step usually means upgrading your utilities, including larger glycol chillers and high-flow plumbing.
Keeping Spare Cellar Capacity
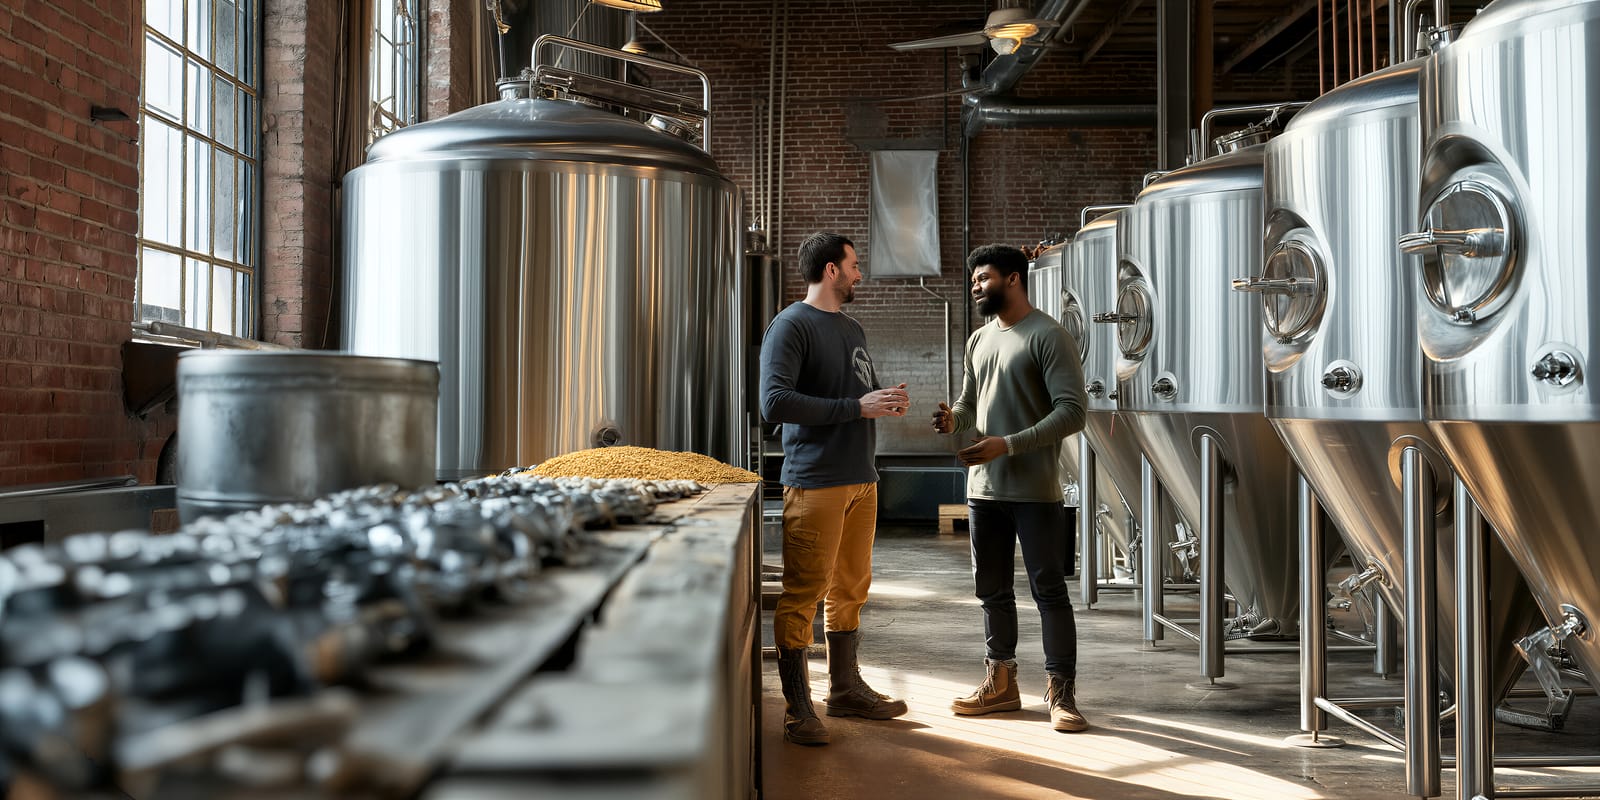
Cellar planning should include spare fermentation capacity rather than operating every tank at full utilization.
Maintaining approximately 20 to 30 percent additional tank availability gives the brewery room for longer fermentations, unexpected demand, maintenance, seasonal products, and delayed packaging runs.
Without this buffer, one slow batch or unavailable tank can interrupt the entire brewing schedule.
A cellar that is completely full may look efficient, but it has no room to absorb a problem.
One lager that takes longer than expected or one fermenter waiting for maintenance can prevent the next brew from leaving the brewhouse. A small capacity buffer keeps production flexible instead of forcing every batch into a perfect schedule. (cassmanmachine.com)
Section 5: Scaling Up to Industrial Volumes
When a brand moves into wider local and regional wholesale, larger tanks get the most out of your brewhouse.
A heavy-duty 15 bbl fermenter lets production teams match single or double brewing shifts and save floor space.
Stepping up to a 30 bbl fermenter helps regional breweries combine several brewhouse batches into one cellar footprint, cutting labor costs.
These large vessels use multi-zone cooling jackets to manage the heat that big yeast populations make during active fermentation.
When a brand expands into wide multi-state distribution, a 90 bbl fermenter provides the volume to keep automated canning lines running constantly.
Managing these large tanks means heavy-duty reinforced concrete floors and high-ceiling buildings with proper drainage.
To keep your large operation clean, every tank should follow the sanitary engineering rules managed by the European Hygienic Engineering & Design Group (EHEDG).
Half-Batch Capability
Some commercial fermenters can process partial batches when the brewery does not need to fill the complete working volume.
This capability is useful for seasonal beers, test recipes, expensive ingredients, contract projects, and products with uncertain demand.
The manufacturer must confirm that the lower cooling jacket, thermowell, sample valve, and racking arm remain correctly positioned when the tank is only half full.
Cooling performance, pressure control, headspace, and carbonation behavior may all change at the reduced liquid level.
A brewery does not always need a full tank of every recipe.
Half-batch capability gives the team more freedom to produce limited releases without purchasing a second set of smaller fermenters. The tank must still be designed so its cooling and measurement components remain useful below the normal fill level. (NFE Brew)
Sizing the Chiller for Cold Crashing
The glycol system must be sized for rapid cold crashing rather than only for maintaining fermentation temperature.
Holding an active fermenter at a stable temperature requires a relatively moderate cooling load, while reducing the complete beer volume by many degrees within a short period demands much more refrigeration capacity.
Cold-crash schedules should therefore be staggered when the chiller cannot support several tanks at once.
The calculation must also include ambient heat, piping losses, insulation performance, pump capacity, and future cellar expansion.
A chiller may hold every fermenter at its normal temperature and still struggle when two tanks begin cold crashing together.
The largest cooling demand normally arrives after fermentation, when the brewery wants to reduce the entire beer volume quickly. Planning around that peak prevents slow crashes and overloaded refrigeration equipment. (Brew Your Own)
Section 6: Cross-Industry Use and Two-Stage Fermentation
The basic rules of temperature control, cleaning, and pressure management apply across every professional drink industry.
In the wine industry, a dedicated WINE FERMENTER uses wide shapes to manage the cap of grape skins during red wine maceration.
White winemakers, cider producers, and sour beer makers often use vertical conical tanks that look exactly like standard beer gear.
In traditional beer production, brewers often move the young beer off the primary yeast into a dedicated secondary fermenter for longer aging.
This two-stage setup is ideal for long lagering, oak-aging, or adding specialty fruits and spices.
Moving the beer to a clean secondary tank keeps it from sitting on dead yeast too long, which prevents rubbery off-flavors from yeast autolysis.
To study yeast biology and healthy harvesting, production managers read the journals shared by the American Society for Enology and Viticulture (ASEV).

Section 7: Steel Grade and Surface Polish
The steel blend and inside finish of your tanks directly affect your beer’s shelf life and daily cleaning costs.
Beverage tanks must be built from high-grade stainless steel, usually AISI 304 or the more acid-resistant AISI 316L.
These alloys contain plenty of chromium and nickel, which form a self-healing protective layer on the metal.
This layer protects the tank from cleaning acids, hard water, and the natural acidity of fruit and hops.
To stop bacteria from taking hold, the inside steel must be polished smooth, to a roughness of 0.8 micrometers or less.
Any rough spots, weld lines, or scratches can shelter wild yeast and hide them from a microbrewery fermenter cleaning run.
To set safe cleaning temperatures and protect your staff, the Master Brewers Association of the Americas (MBAA) offers complete safety guides for cellar work.
Maintaining the Passive Layer
The passive protective layer of stainless steel must be maintained throughout the working life of the fermenter.
New tanks should be cleaned to remove fabrication oil, metal particles, and workshop residue before they are passivated and placed into production.
Repassivation may also be required after welding, grinding, aggressive manual scrubbing, surface rust, chemical damage, or repeated exposure to acidic products.
The correct frequency and chemical procedure should be established with the tank manufacturer and chemical supplier according to water chemistry and operating conditions.
Stainless steel protects itself only when its surface remains clean and properly passivated.
A new tank can still contain oil or iron particles from manufacturing, while later repairs can damage the protective surface. Regular inspection and timely repassivation help prevent small rust marks from becoming permanent pits or contamination points. (Asian Beer Network)
Section 8: Vessel Selection Comparison
Choosing the right tank setup means matching your beer styles to the right structural pressure limits.
The table below compares the main engineering specs of the primary commercial tank styles:
| Tank Engineering Class | Working Pressure Limits | Carbonation Stone Integration | Optimal Production Application |
| Standalone Low-Pressure CCT | Restricted below 5 PSI maximum. | Incompatible (Requires liquid transfer). | Basic primary fermentation and quick yeast harvesting. |
| Atmospheric Open-Top Vat | Zero Pressure (Atmospheric). | Incompatible. | Expressive traditional ales and wild sour programs. |
| High-Pressure Unitank Shell | Engineered for 15 to 30 PSI continuously. | Fully Compatible via sanitary tri-clamp ports. | Full-cycle single-vessel processing from yeast pitch to packaging. |
Section 9: Automated Clean-In-Place (CIP) Cleaning
Keeping your whole cellar perfectly clean is the single most important factor in protecting your brand and shelf life.
To clean these large tanks without manual scrubbing, plants use automated Clean-In-Place (CIP) loops.
The CIP setup uses a high-flow spray ball in the top dome to push cleaning fluids across every inside surface.
A standard CIP run starts with a fresh-water pre-rinse to remove heavy yeast cakes and loose material.
Next, a heated caustic solution (sodium hydroxide) is pumped through the loop at 60°C to 80°C to break down oils and proteins.
After a quick rinse, an acid wash of phosphoric and nitric acid dissolves hard minerals like calcium oxalate scale.
To check how well the cleaning worked, quality teams use automated ATP swabs to confirm the tank is sterile.
For advice on removing stubborn mineral scale without scratching the polished steel, producers follow the manuals shared by the Brewers Association.
Short, Drainable Bottom Outlet
The bottom drain should remain close to the cone outlet to minimize the amount of beer and yeast trapped inside external piping.
Long sections of uncooled pipe can hold product at cellar temperature, creating a possible source of spoilage, off-flavors, and product loss.
The outlet must be large enough to remove thick yeast slurry without blocking while still supporting controlled, low-turbulence beer transfers.
Piping and valves should also be fully drainable after CIP so cleaning solution and rinse water do not remain inside dead legs.
A clean tank can still develop a hygiene problem in the short pipe below it.
When yeast or beer remains trapped outside the cooled vessel, it warms quickly and becomes difficult to clean. Keeping the drain connection short and fully drainable removes one of the easiest places for residue to hide. (DME)
Section 10: Building Layout and Floor Load
Planning a cellar layout means paying close attention to your building’s size and its concrete floor limits.
Your fermenters should always be bought in exact multiples of your brewhouse batch size to keep the workflow smooth.
Leaving enough empty space at the top of the tank, called headspace or ullage, is a critical safety factor.
As yeast breaks down sugars, it creates a thick, expanding layer of foam and protein called krausen.
If a tank is overfilled and lacks headspace, this foam can clog the pressure relief valves and build dangerous unvented pressure.
For standard ales, leave at least 25 percent headspace, and up to 35 percent for very active yeast strains.
You also need to check floor load limits, because a full tank weighs several tons and needs thick reinforced concrete pads.
Stacked Fermenters for Small Batches
Stacked fermenters place two independent tanks inside one vertical support structure.
This arrangement can increase the number of simultaneous beer styles without using the floor space required by two separate vessels.
Each tank still needs independent temperature control, glycol connections, pressure protection, product piping, sampling points, and CIP access.
Before installation, the brewery must verify ceiling height, structural loading, platform access, valve clearance, and safe maintenance of the upper vessel.
One large fermenter is efficient for a core beer, but it cannot hold two different recipes at the same time.
Stacked tanks preserve small-batch flexibility while using the available building height. The design only works well when the brewer can still operate, clean, and service the upper tank safely. (brewerybeerequipment.com)
Support Legs and Structural Anchoring
Fermenter support legs must be designed for the full operating weight of the filled vessel and any lateral forces acting on it.
Adjustable foot pads help level the tank on an imperfect floor, but they do not replace structural anchors when seismic, wind, impact, or local building requirements apply.
Large vessels may require cross-bracing, anchor bolts, engineered concrete pads, and reinforcement around leg-to-shell connections.
A qualified structural engineer should approve the final support and anchoring plan before the tank is filled.
The weight of the liquid acts downward, but that is not the only force the fermenter may experience.
An earthquake, accidental impact, or unstable footing can push a tall tank sideways and place extreme stress on its legs. Proper anchoring protects the equipment, the building, and everyone working nearby. (SKE Equipment)
Section 11: Real-Time Fermentation Tracking
The drinks industry is moving to digital systems that turn traditional cellars into connected, data-driven networks.
In the past, a cellar worker had to draw a sample from every active tank each day to check the sugar level with a glass hydrometer.
This manual step takes labor hours, wastes beer, and adds a small contamination risk every time the valve is opened.
To fix this, modern facilities install digital inline density sensors right into the tank walls.
These sensors use continuous pressure data or sound frequencies to track sugar drop in real time and send alerts to the brewer’s phone.
If a batch slows down unexpectedly, the software warns the team early so they can adjust the temperature before it stalls.
To balance these automated systems with classic flavor, production teams consult the Australian Wine Research Institute (AWRI) on how processing changes affect long-term aging.
Controlling Oxygen, CO₂, and Sterile Air
A commercial fermenter can include a dedicated gas-control system for sterile oxygen, carbon dioxide, and filtered air.
Sterile oxygen may be added while the cooled wort enters the tank to support early yeast growth, while carbon dioxide is used for purging, pressure control, spunding, and closed transfers.
Flow meters, sterile filters, check valves, regulators, and foam probes help operators control these gases safely and consistently.
Oxygen must not be introduced after active fermentation begins unless the recipe specifically requires it, because it can damage beer flavor and shelf stability.
Gas management involves more than connecting a CO₂ hose to the tank.
The brewer needs clean oxygen during wort filling and controlled carbon dioxide during fermentation, conditioning, and transfer. Measuring each gas flow makes the process repeatable and prevents an unnoticed valve setting from affecting the finished beer. (Micet Craft Brewery Equipment)
Section 12: Summary and Plan
Choosing your primary beer brewing fermenter takes a clear view of your beer styles, packaging methods, and available capital.
If your business focuses on fast taproom sales where freshness drives revenue, low-pressure conical tanks are an affordable starting path.
But if your goal is wide regional wholesale with tight packaging timelines, high-pressure unitanks save a lot of time and labor.
Be sure to check your building’s floor-weight limits, plan for plenty of headspace, and enforce strict automated CIP loops.
By matching your equipment to your volume goals and treating your cellar as a key partner, your team can keep delivering great beer.
Contact Us